The Sweet & Tart Dark Horse of the Thanksgiving Dessert Table
When folks think of Thanksgiving, their minds might immediately go to turkey, stuffing, or potatoes. But my mind is forever focused on dessert, and for this holiday, pie is the name of the game. While the classics, like pumpkin, pecan, and chocolate silk, are classics for a reason, I always appreciate something a little off the beaten path. Enter this lemon tart. Far from cloyingly sweet, our hero today is tart and creamy—quite frankly, it’s everything I’m looking for after a heavy meal.
Do I Need To Make My Own Tart Dough for This?
Short answer? Nah. You can absolutely use store-bought. But, I would encourage you to give this tart shell a try because it is more of a sugar cookie/shortbread than traditional pie dough. It gives the tart a great sweetness and is also sturdy enough so you can be confident that nothing will rip or tear. It is adapted only slightly from an Alison Roman recipe from the NYT and comes together in a snap! Truly, dump all of your dry ingredients into a bowl, mix the melted butter in, and then press it as thinly as possible into the pan…bing, bang, boom!
Some Notes on This Lemon Tart Filling
I am using a 9″ tart pan for this recipe. If you are in the market for a tart pan, I cannot recommend one with a removable bottom enough—I use this one. It is truly a lifesaver. A word of warning though, every tart pan is a little different—and some are deeper than others. So, while we are using a 9″ tart shell, there is enough filling to fill the pan, plus a little extra, juuuuuust in case.
Because there will be undoubtedly more filling than you need, I like to use the remainder to fill a couple of small ramekins. I bake these ramekins alongside the tart and have them as an option for anyone who is gluten-free. Fill them roughly halfway up, and they’ll take about the same time as the tart—roughly 40 – 50 min. Once these ramekins are baked, I like to sprinkle crushed-up almond cookies or nuts on top alongside a big dollop of whipped cream and some blueberries.
How to Tell if Your Lemon Tart Is Baked?
Nothing is worse than cutting into something you worked hard on only to see it gloop onto the table. Luckily, we are using a sweet cookie dough as the base and par-baking it before filling. Once we carefully pour in the filling, we are baking it low and slow. This will prevent any weird eggy bits from forming and ensure a smooth and creamy bite throughout.
I check the tart at 20 minutes just to make sure the crust isn’t too brown. If it is, tent it with some foil. At 40 minutes, give the tart a look-see. Gently touch the rack. If that contact causes your filling to ripple, like a wave, or seems like it is sloshing around the shell, it needs more time. Check again at 45 min. My old oven takes 45-50min to get the gentle wobble we are looking for. Like a cheesecake, that wobble means that the tart is baked enough to be set but not a solid block. the tart shimmy is a new dance move, get into it.
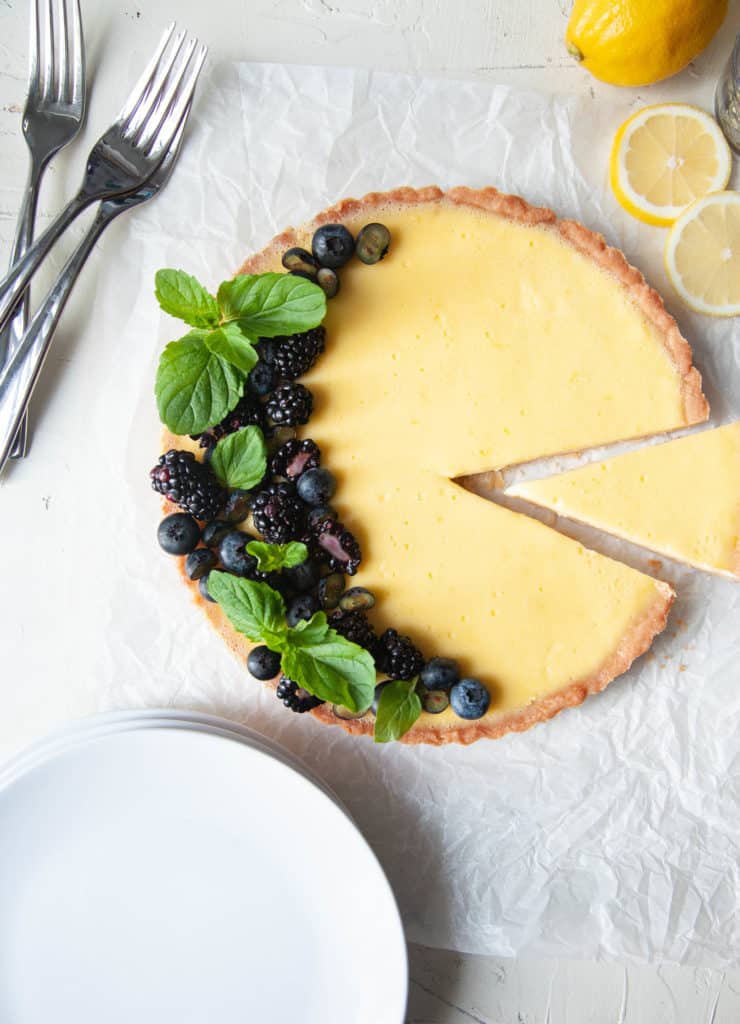
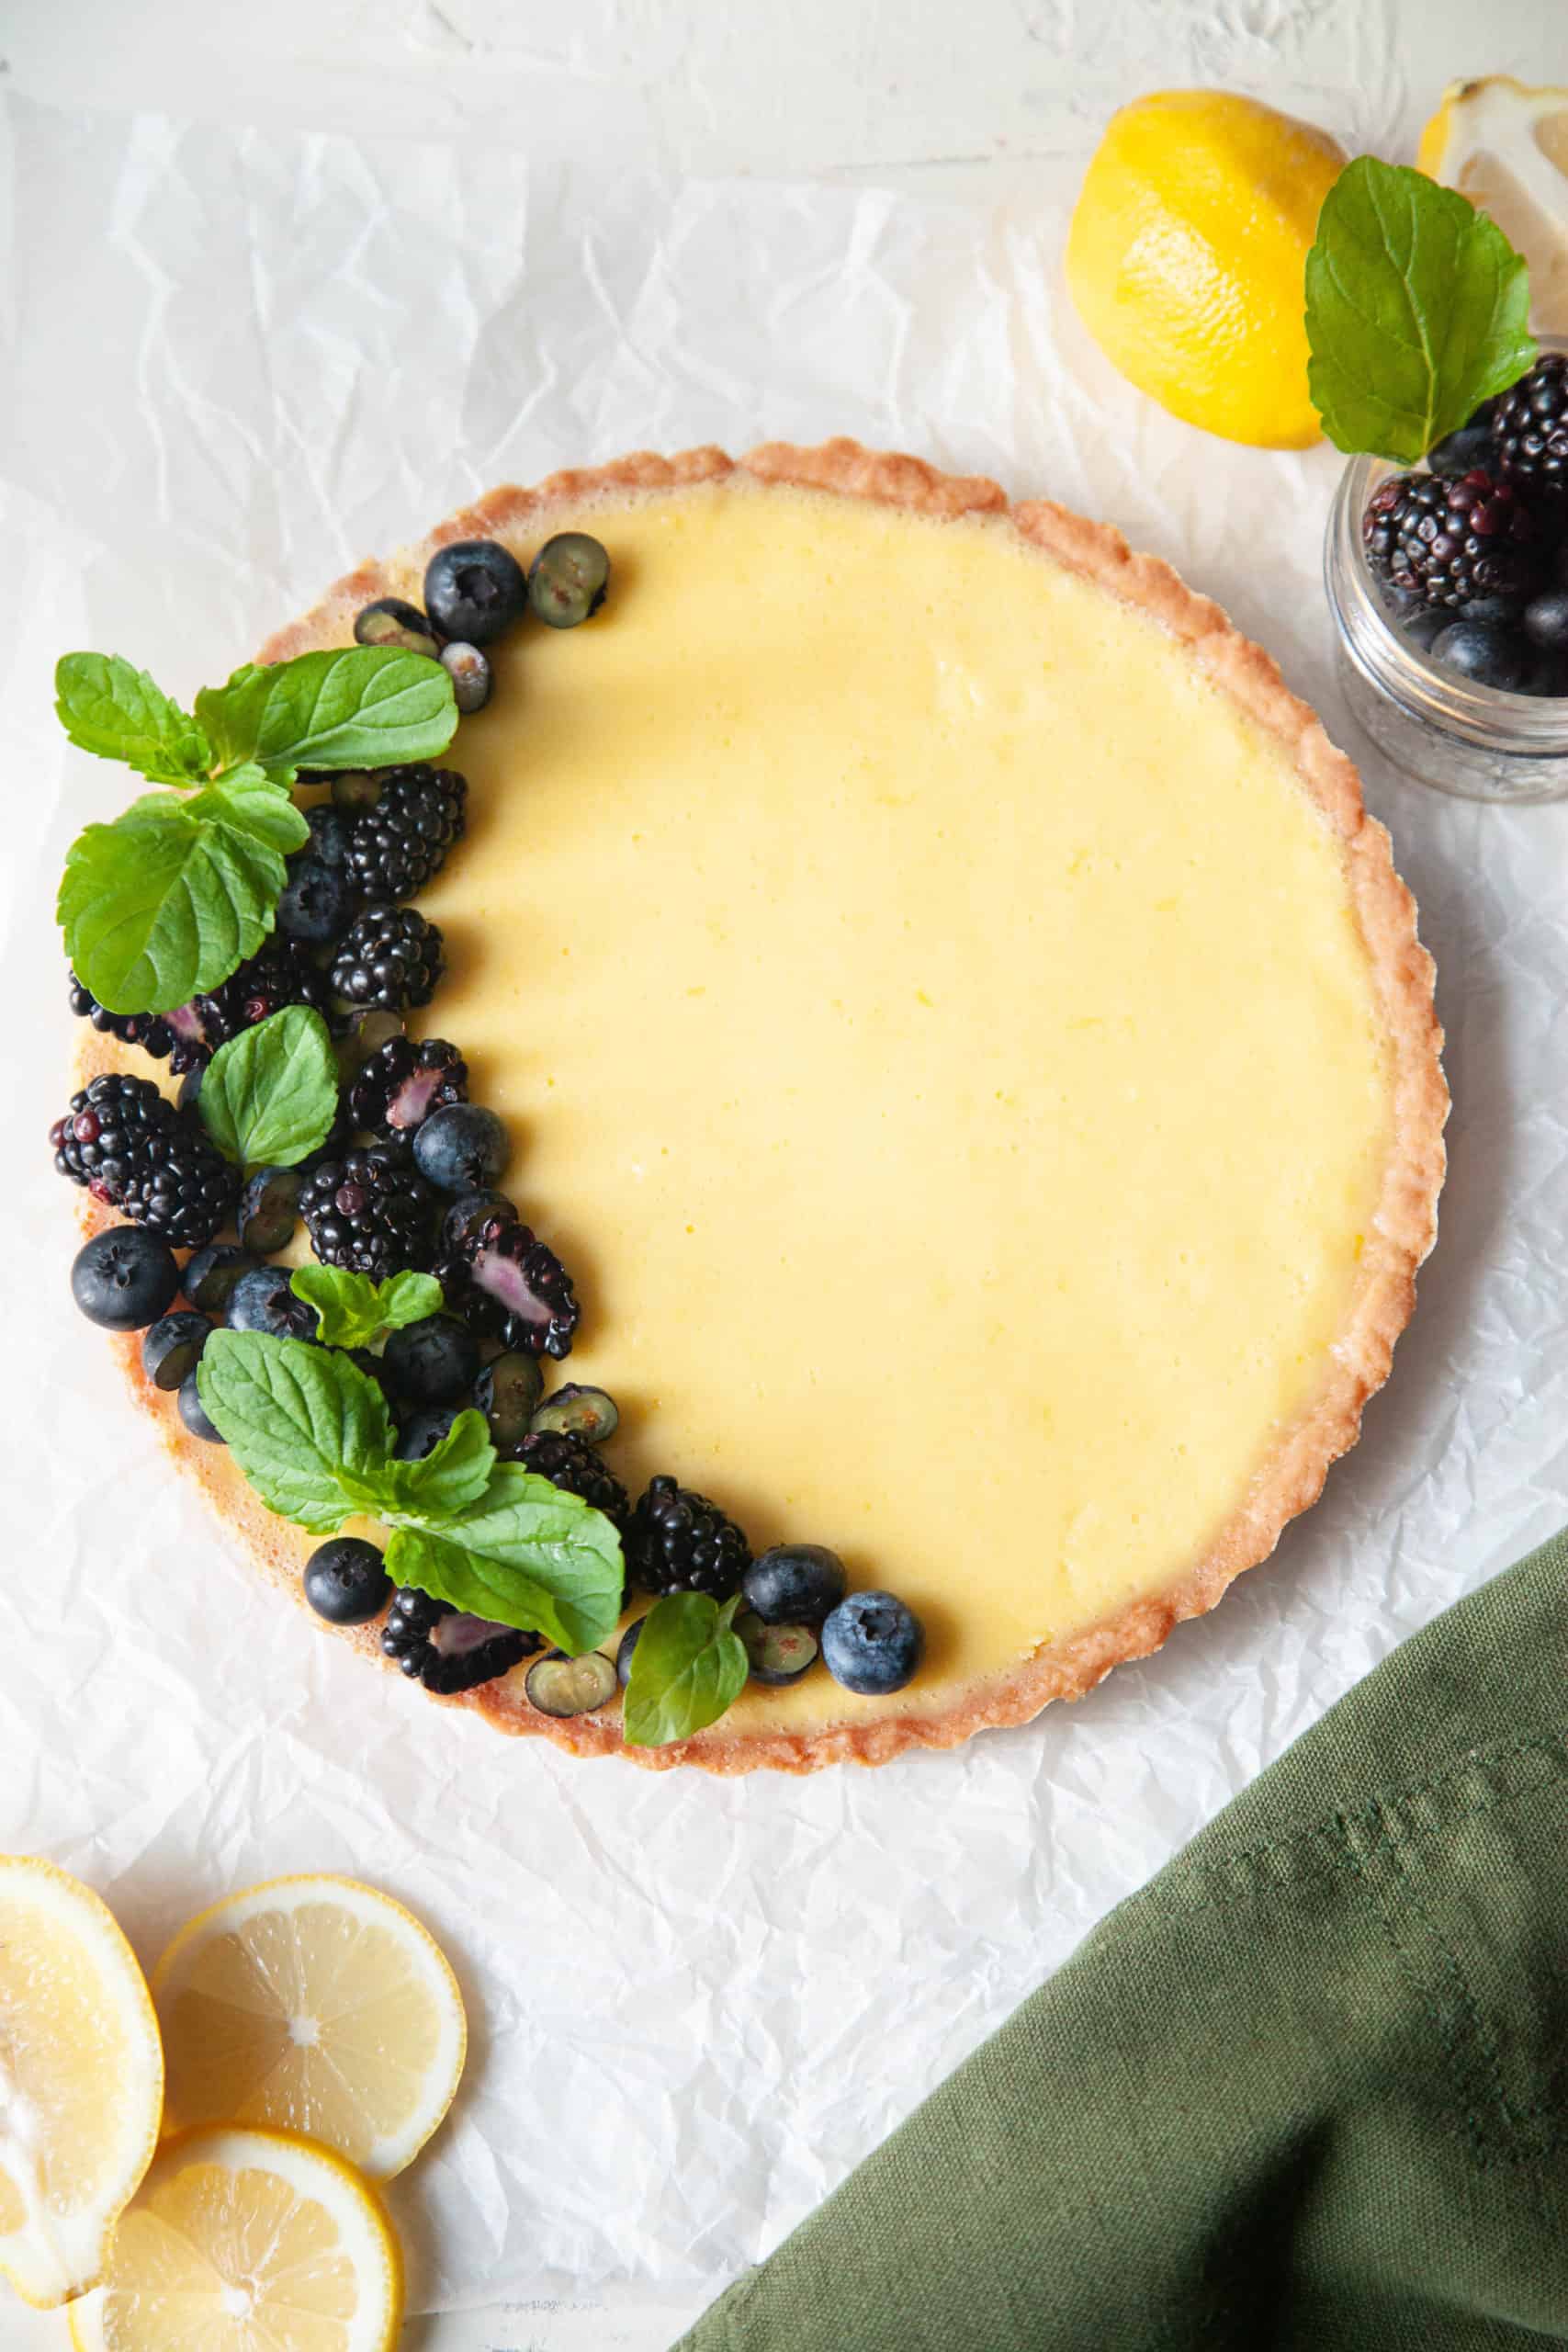
Another quick tip! This tart is delicious the day it is made, but I am OBSESSED with it the next day. So, feel free to bake it the day before and leave it in the refrigerator overnight. The next day, pop on any finishing touches (like berries or whipped cream) and enjoy!
Looking for other crowd-pleasing desserts? Check out:
This creamy lemon dessert is sweet, tart, and absolutely addictive! It makes for a beautifully fresh option for your Thanksgiving dessert table.
Ingredients
Scale
For the crust:
195g all purpose flour
80g powdered sugar
1 1/2t kosher salt
165g unsalted butter, melted
For the filling:
300g eggs (about 6 large eggs)
135g granulated sugar
275g heavy cream
105g fresh lemon juice (about 5 lemons)
zest of 2 lemons
Instructions
Preheat the oven to 350F.
Make the crust: In a large bowl, whisk together the flour, sugar, and salt. Add the melted butter and use a rubber spatula to combine everything into a dough.
Press the dough into a 9″ tart pan, making sure it is thinly spread and even throughout. It will feel greasy on your hands, so I like to use the bottom of a measuring cup to press the dough down and up the sides. Make sure to really get into the corners, so you don’t end up with a big block of crust. I typically get the dough about 1.5″ up the sides. Pop a piece of parchment paper on top and add either pie weights or dried beans to weigh down the dough. This will stop it from puffing up a bit in the oven. (If you skip this part, you will still get a perfectly delicious tart, but you won’t get nearly as much filling in it.)
Bake for 15-20 minutes. Pull the tart out of the oven and reduce the temperature to 280F.
Make the filling: In a large bowl, whisk together the eggs and the sugar. Whisk in the heavy cream, lemon juice, and zest.
Pour the filling into a pitcher. If you don’t have a pitcher (like yours truly) I like to use a liquid measuring cup (it might take a few trips).
Once the oven hits 280F, put the tart shell onto a baking sheet and pop it in the oven. We are going to add the filling into the shell while it is in the oven to avoid any major spills. So, being careful not to burn yourself, slowly pour in the lemon filling up to the top of the crust line.
And now, we bake for 40 – 50 min (check out my notes for checking doneness above.) At the 20 min mark, check on your crust. If it is starting to look too brown, make a large aluminum foil tent and pop it on.
Take out your tart and allow to cool in the pan for about 10-15 minutes. Run a knife around any bits that look troublesome before unmolding and allow to cool further in the refrigerator, at least 2 hours. You can either leave it as is, or top with whipped cream, or a crescent of blueberries, blackberries, and mint like I did here.