I'm Elyse. Some of my most vivid and cherished memories are around a table with friends and family, and I want that for you, too.
Oh hello!
mood for?
What are you in the
Contrary to popular belief—and often, my own wishes—I don’t always have baked goods for breakfast. In fact, I have a bad habit of skipping breakfast altogether, thinking that a large cup of coffee will sustain me. (It doesn’t.)
But, we are trying to live a little better every day, so I bought a tub of greek yogurt and assumed I would be the pinnacle of health from here on out. Turns out, texture is important. So, instead of letting the yogurt go bad, I started testing granolas.
When I was in school, people would use the phrase, “makes their own granola” as a way to describe a person who appeared to be a hippie. And the older I get, the more I realize that’s exactly what I am. A nature-loving, granola-making, weirdo. I want to make my own cheeses and stare at bugs all day. It’s not hurting anyone and it brings me joy, so I might as well lean into it. However, if you are also of the mind to make your own granola, know that it is not strictly reserved for flower gazers. It tastes so much better than store-bought and is easier to make than you might think.
Why Is This Granola My Favorite?
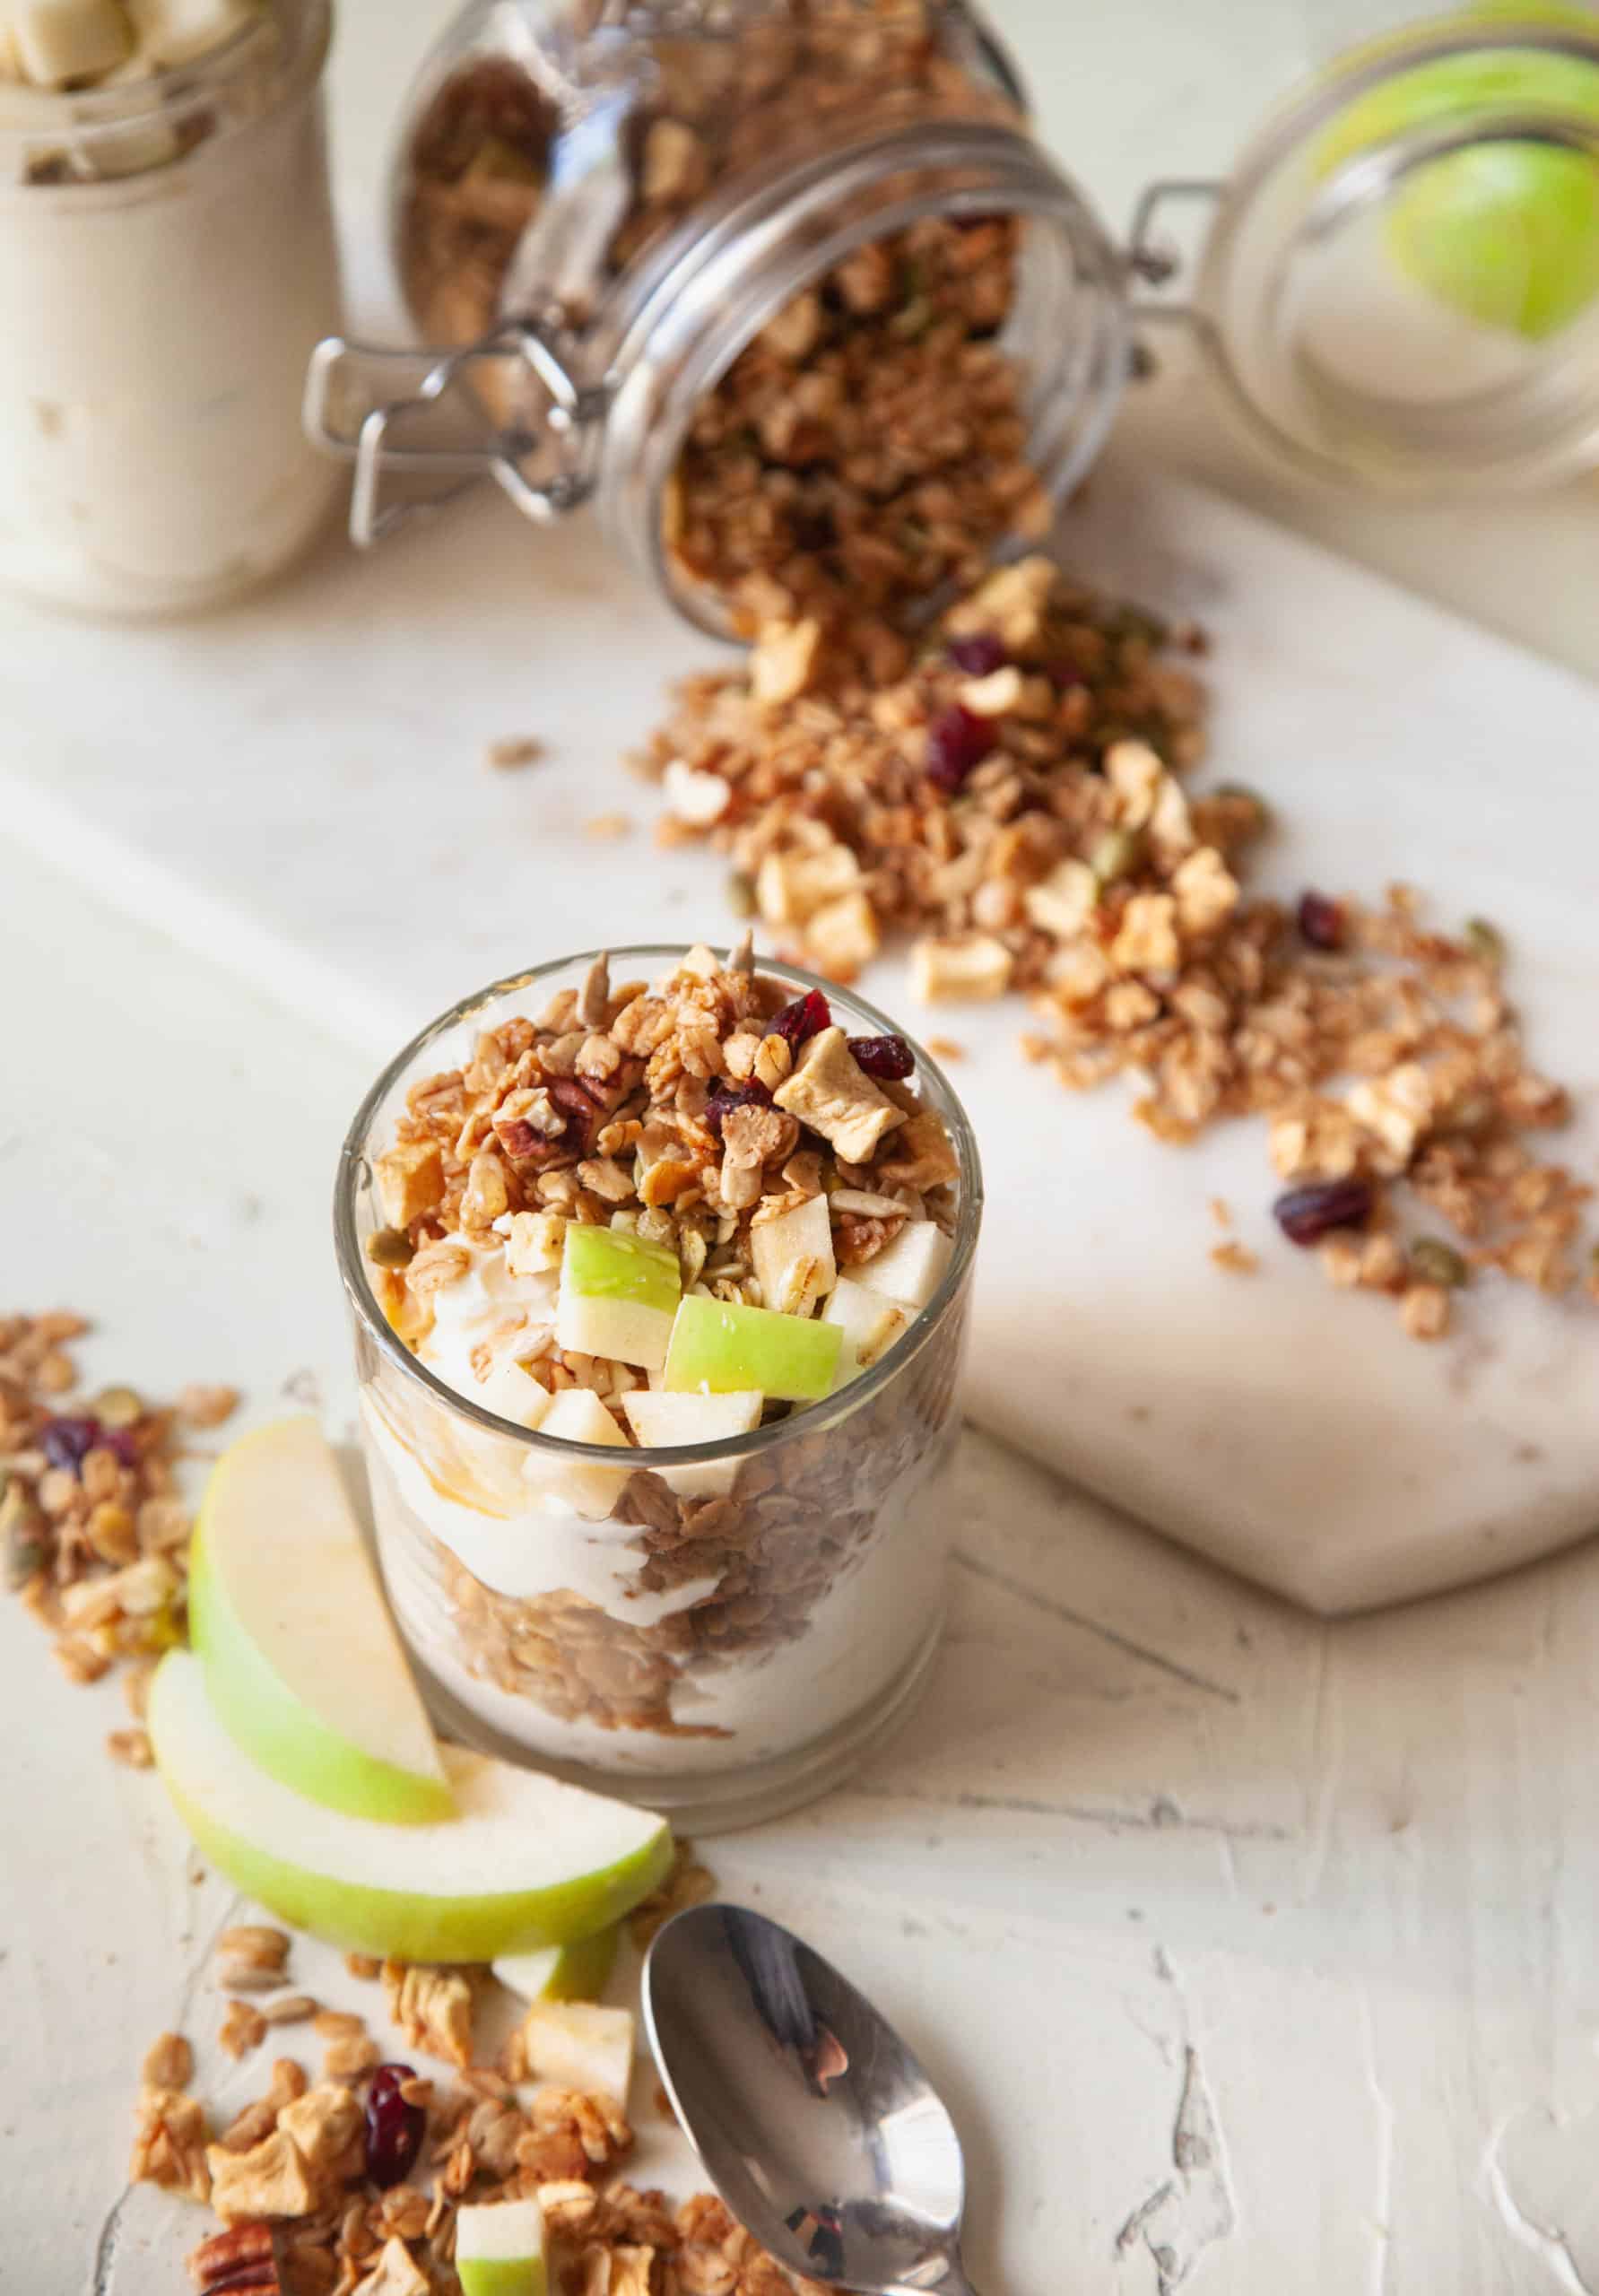
After a disturbing amount of failed tries, I finally got the granola of my dreams. It is sweetened with maple syrup, dried apples, and cranberries, so it doesn’t taste like bird food. We are also using cinnamon, ginger, allspice, and clove to bring all the flavors of fall. Throw in some seeds, walnuts, and pecans? And you’ve got yourself a hearty breakfast indeed! (Please read that last sentence in a ye ‘ol-timey prospector voice, because that’s how I wrote it).
While these are the ratios and ingredients that I like, I encourage you to play around! Swap out the pecans for almonds, kick out the cranberries for cherries, add white chocolate chips—the world of homemade granola is yours for the taking! Whether you are enjoying this as a yogurt topping or a stand-alone snack, I hope you enjoy!
Heads up: If you buy something through this link, it doesn’t affect your price, but Elyse Creates may earn an affiliate commission, which is pretty cool.
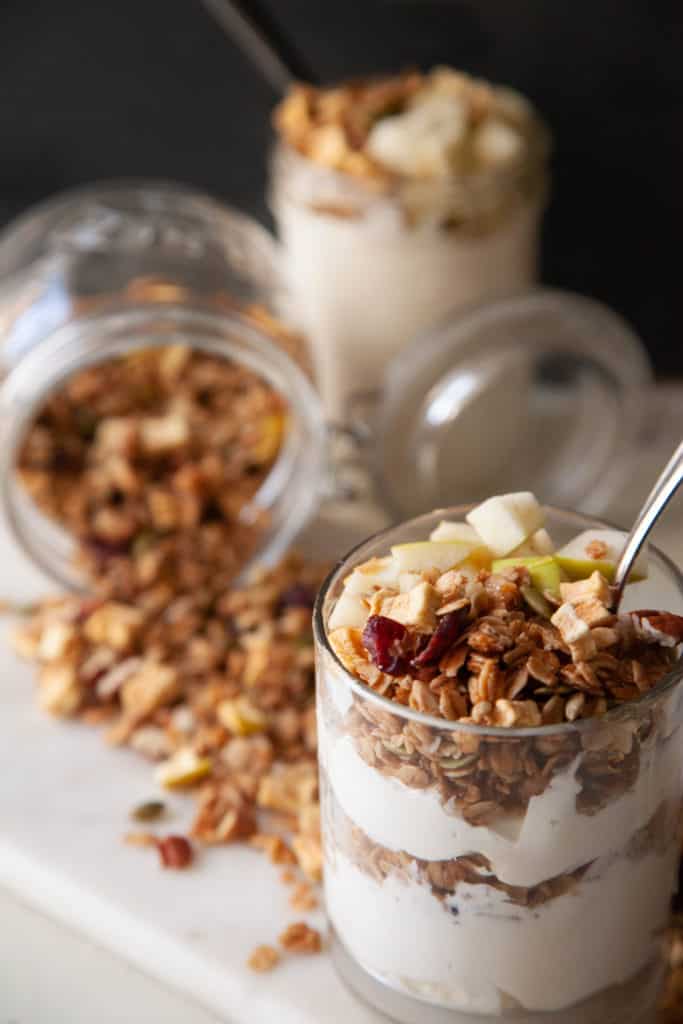
This tasty granola is perfectly spiced for fall! Enjoy solo or with a bowl of yogurt, fruit, and honey.
Ingredients
Scale
4C rolled oats
1/2C unsalted butter, melted
1/2C good-quality maple syrup
1 1/2t salt
1/4C walnuts, unsalted and chopped
1/4C pecans, unsalted and chopped
1/4C pepitas (pumpkin seeds), unsalted
1/4C sunflower seeds, unsalted
1/2C dried apple chunks (see notes)
1/4C dried cranberries
1t cinnamon
1/2t ground ginger
1/4t ground allspice
1/8t ground clove
Instructions
Preheat your oven to 325F.
In a large bowl, toss the oats with the melted butter, maple syrup, salt, cinnamon, ginger, allspice, and cloves.
Spread the mixture onto a baking sheet and bake for about 25-30 minutes, or until lightly golden.
Add the walnuts, pecans, pumpkin seeds, and sunflower seeds to the baking sheet and bake for 5 more minutes.
Remove from the oven and allow to cool completely. You might need to scrape your granola to prevent sticking. Once cool, toss in the dried apples and cranberries. Store in an airtight container in a cool, dry place. It will keep for 2 weeks.
Notes
Dried diced apples were surprisingly hard for me to find. (I don’t want apple chips!) Feel free to either order them online, these ones look good, or make your own. Fair warning, the process is a little finicky and I’m sure there is a better way, but here is what I did:
Preheat your oven to the lowest temp possible, for me that was 170F.
Dice 2 Granny Smith apples to your desired size. Place a wire rack onto a baking sheet and arrange your diced apples on it. A few of them will fall, and we just have to live with that, but the wire rack will encourage airflow, so you don’t have sticky or unevenly dried pieces.
Pop your apples/wire/sheet contraption into the oven and leave them in there for two hours before even thinking about starting to check them. Find the largest piece, split it open, and give it a squeeze. If juice comes out, you’re not ready. At 3 hours, I started pulling the smallest pieces and it took me a full 3.5 hours to get them dried inside and out.
Once fully dried and cool, store in an airtight container until needed.