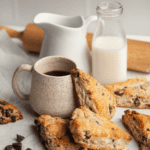
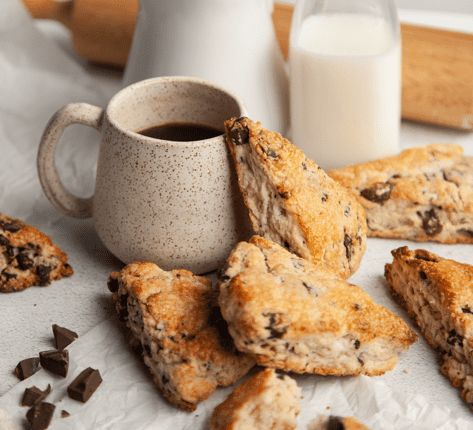
These fluffy chocolate chunk scones make for a sweet addition to any breakfast or brunch. Enjoy with a cup of coffee (or two)!
What Is the Secret to Great Scones?
Scones get a bad rap because when they’re done poorly, they’re dry and flavorless. This only gets worse when they aren’t fresh. However, when scones are done right, they are moist, tender, and buttery—making them the ultimate breakfast treat.
My two secrets to delicious scones are: keep your ingredients cold and avoid overmixing your dough. You want to have your butter cold when you work it into your dry ingredients—keeping it in its solid form as much as possible. When the scones bake, the butter will melt, releasing steam that will cause your dough to rise in the oven, for tall flakey pastries. Additionally, having everything cool will make sure your scones keep their shape while baking.
The moment flour meets liquid, gluten begins to form. Overworking the dough will increase gluten formation, leading to tough pastry. Use a gentle touch and know that it is OK (in fact, encouraged) to not have a fully homogenous dough.
Buttermilk, Sour Cream, Milk, or Heavy Cream—Which Dairy Type Is Best for Scones?
When people think of scones, their mind immediately goes to buttermilk. And for good reason. Buttermilk has enough fat content to encourage tenderness and enough tang to balance the sweetness. However, other dairy products can be a wonderful twist on a classic. In fact, I have a heavy cream biscuit recipe that rules (in my humble opinion). Sour cream has more fat than buttermilk, which leads to a moist, tender, and rich scone without sacrificing that lovely tanginess that buttermilk brings.
Step-by-Step Instructions
Scones come together quickly and as long as you know what to look for at each stage of the process you’ll be a scone master in no time!
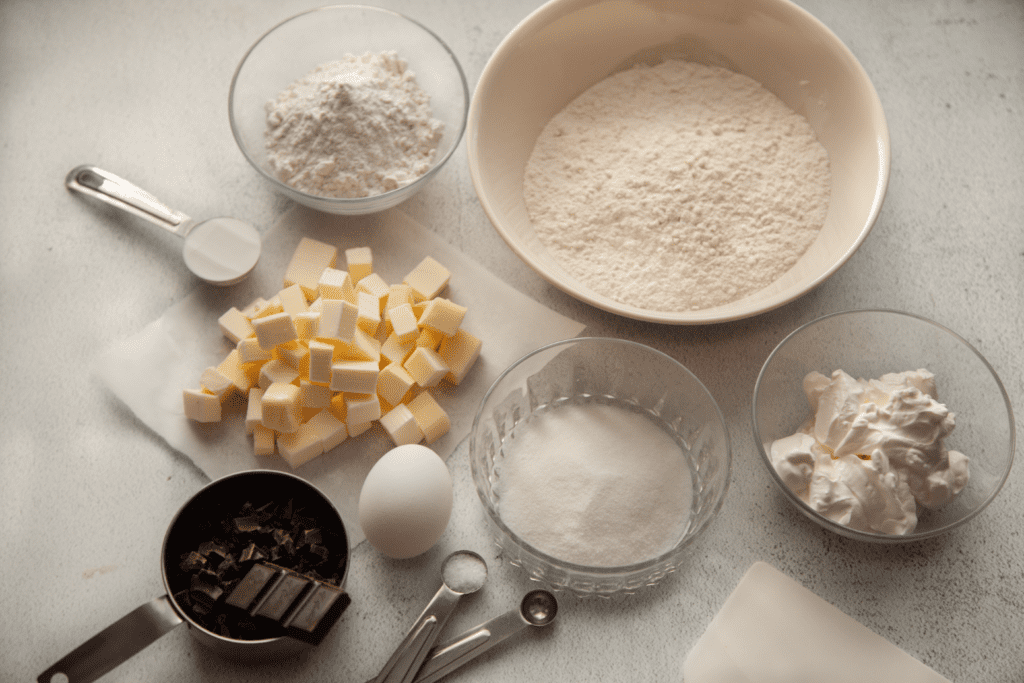
Gather your ingredients: Start by cubing your butter and measuring out the sour cream. Store in the refrigerator while you chop the chocolate and consolidate the dry ingredients. Again, cold ingredients are going to be your friend here.
Whisk together the dry ingredients.
Toss the butter into the flour mixture and begin pressing the pieces flat and pinching them into smaller bits—working until the butter is incorporated and resembles pea-sized cornflakes.
Make a well in the center of your mixture and dump in the sour cream. Use a rubber spatula to gently hydrate your dough. Add in the chocolate chunks.
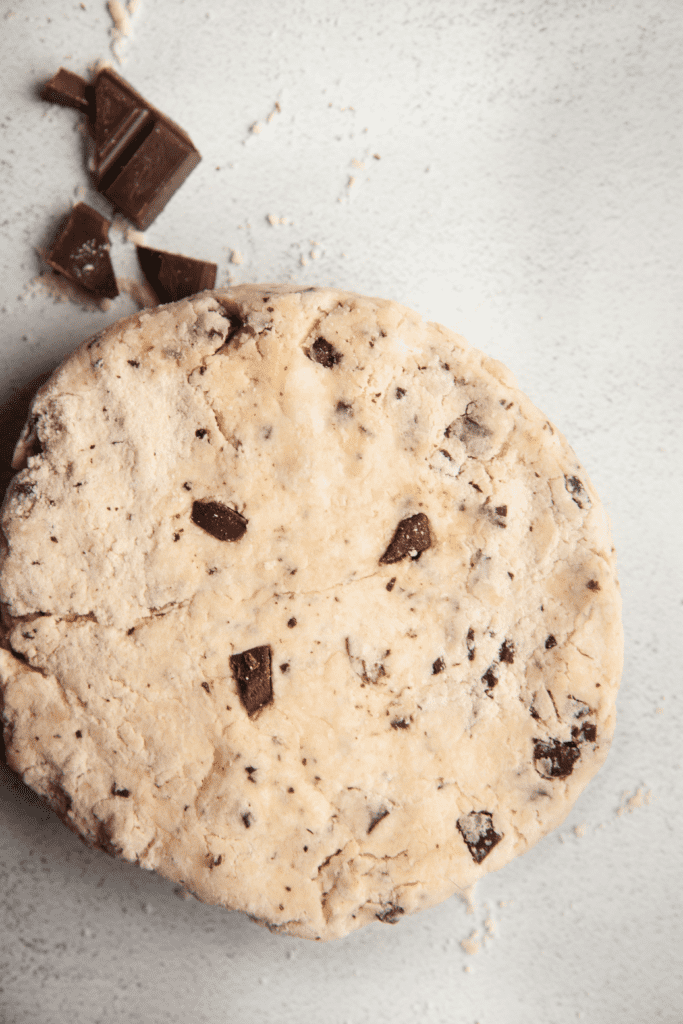
Once you’ve got a delightfully shaggy mess, dump the dough onto a clean work surface.
Use your hands to squeeze the dough together into a mountain then press it down flat. Rotate the dough and repeat the mountain to flatten process, consolidating all of the dry shaggy bits. It usually takes about 4 or 5 passes to get a dough that is hydrated enough to make a nice disk. A few dry bits are A-OK. The dough is going to get some time to rest in the refrigerator, which will help with hydration.
Refrigerate your dough overnight, or for at least an hour. If you are tight on time, I’ve had success freezing the dough for 15 – 20 minutes.
8. When the dough is cool, it is time to roll and shape! Use a rolling pin to flatten out the dough to a 3/4″ thick disk.
9. Divide the dough into nine even(ish) triangular sections.
10. Brush the scones with egg wash and sugar and bake until delightfully golden.
Storage Tips
Scones are best the day they are made, so if you plan on storing these, store them BEFORE baking. Once you cut your scones into the desired shape, tightly wrap them in plastic individually. Then, place them in a ziplock bag (or silicone bag) and pop them into the freezer. Double wrapping will protect your scones from moisture, which is important because any extra water will affect the texture and potentially even the structure. The scones will keep in the freezer for up to a month. These scones can be baked straight from the freezer too! So you don’t need to worry about pulling them out before preheating the oven.
These easy chocolate chunk scones are rich, tender, and go perfectly with coffee. Say goodbye to sad, dry scones for good!
Ingredients
Scale
200 grams all purpose flour
85 grams cake flour
65 grams granulated sugar
1 tablespoon baking powder
1/2 teaspoon kosher salt
170 grams unsalted butter, cold and cubed
175 grams sour cream
2/3 cup chopped dark chocolate
1 egg + turbinado sugar for topping
Instructions
In a large bowl, whisk together the all-purpose flour, cake flour, granulated sugar, baking powder, and salt.
Add the cubed butter and rub it between your fingers, working it into the dry ingredients, until the mixture resembles fine meal, and there are pea-sized bits of butter still visible. (They almost remind me of corn flake pieces.)
Make a well in the center of your dry ingredients and add your sour cream. Use a rubber spatula to slowly work everything together until the mixture is moistened. Gently fold in the chocolate chunks.
Dump everything onto a clean, lightly floured surface and gently knead it until the dough comes together in a smooth ball.
Press the ball into a disk, wrap in plastic, and pop in the freezer for about 20 minutes, so your dough can firm up again. (It’s also OK to pop it in the refrigerator for an hour instead if you prefer.)
Preheat the oven to 400F. Line two baking sheets with parchment paper or a silicone mat.
On a lightly floured surface, roll your disk out to 3/4″ thick. Move the disk around periodically to ensure no sticking.
Use a long knife to cut the disk into 12 wedges.
Whisk the egg in a small bowl. Brush the tops of your scones with egg and then sprinkle turbinado sugar on top.
Place the scones on the baking sheets and bake for about 15 minutes or until the tops are golden and the edges are brown.
Allow the scones to cool for 5 minutes before digging in with butter and coffee.